
How to Measure Stainless Steel Chain Dimensions
A practical D, P and W measuring guide for replacement chains, OEM enquiries and equipment matching.
For a complete replacement or OEM request, also record the total chain length, link count, link type, material grade, application and any equipment information. Wire diameter alone is not enough to confirm compatibility.
Why Stainless Steel Chain Dimensions Matter
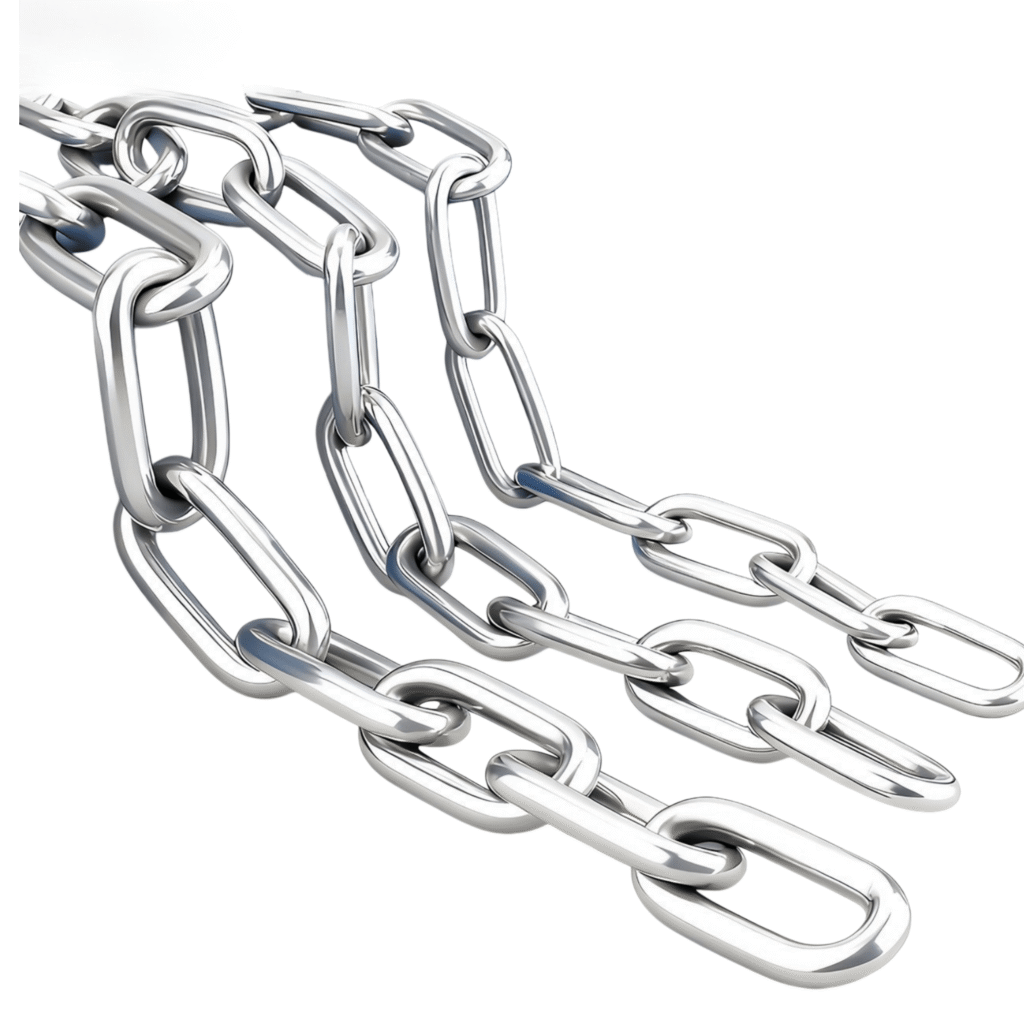
Accurate stainless steel chain dimensions help buyers compare samples, replace an existing assembly and prepare a clear OEM request. A chain that looks similar can still differ in pitch, internal opening or link profile. These differences may prevent a shackle, hook or pin from fitting and can also affect how a calibrated chain engages with matching equipment. Review the available stainless steel welded chain formats before preparing an enquiry.
Recording all relevant dimensions reduces back-and-forth during quotation and helps a supplier distinguish the nominal specification from wear found on an old sample. For bulk orders, it also supports confirmation of chain length, link count, packaging and inspection requirements.
Chain Dimension Terminology
| Term | Practical meaning | How to record it |
|---|---|---|
| Wire diameter | Diameter of the round bar forming the link | Measure intact areas away from the weld and obvious wear |
| Inside link length | Clear internal length of one link | Measure the internal opening with the link in a natural position |
| Inside link width | Clear internal width of one link | Record the usable narrow opening |
| Outside link length/width | Maximum external dimensions of a link | Use as supporting geometry, not as a substitute for internal dimensions |
| Pitch | Standardized link spacing defined by the drawing or standard | Confirm the definition before measuring |
How to Measure Wire Diameter (D)
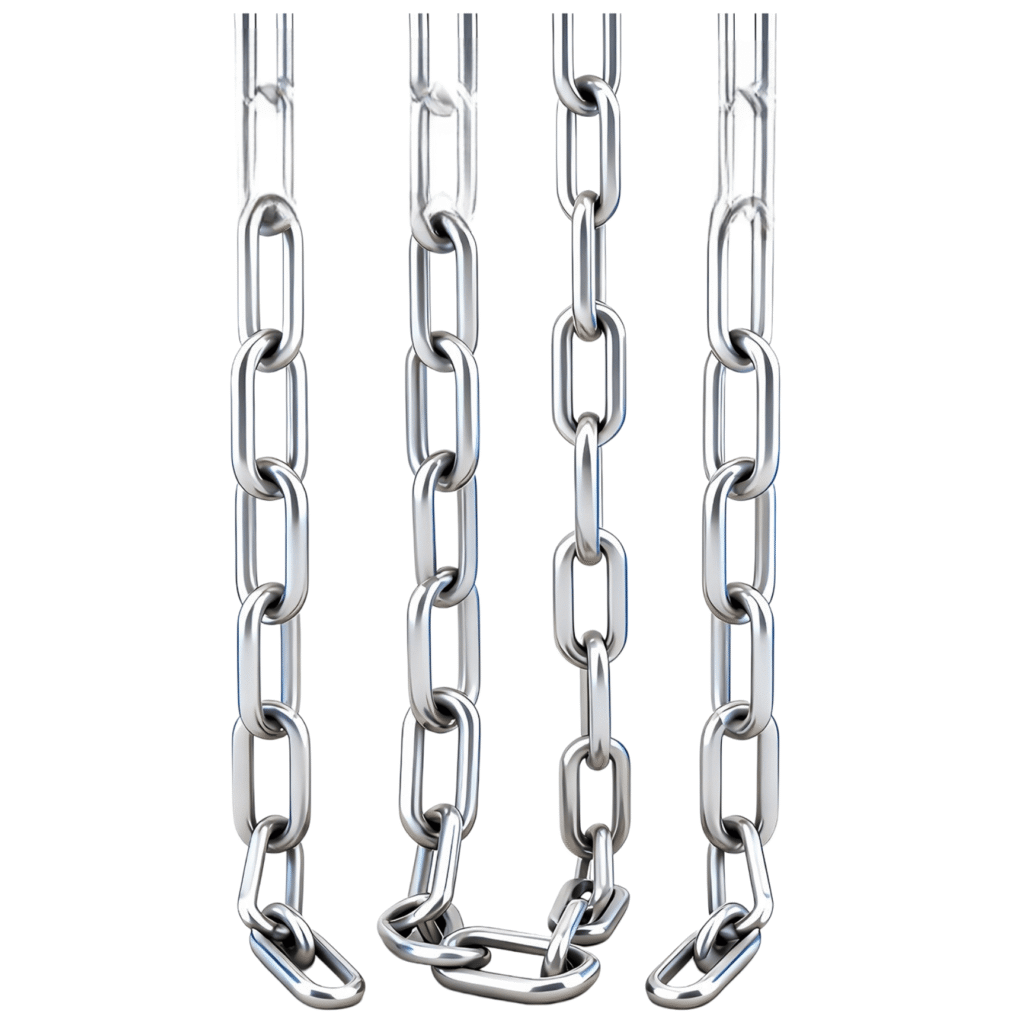
Wire diameter is the thickness of the stainless steel bar used to form the link. Clean the measuring area and remove dirt or deposits that would change the reading. Do not measure directly on the welded seam, a flattened wear point or a visibly deformed section.
Use a vernier or digital caliper suitable for the required accuracy. Measure several intact links from different positions and record the readings rather than relying on a single point. If the chain is used, note the minimum, maximum and representative values so the supplier can assess wear and estimate the likely nominal size.
How to Measure Inside Link Length
Inside link length is the clear longitudinal opening within one link. Place the link in a natural, untensioned position and align the caliper with the link axis. Avoid measuring diagonally or forcing the link into a different shape.
Inside length should not automatically be treated as pitch. Some drawings use P for inside length, while others use P for a different reference spacing. Confirm the dimension diagram for the relevant chain family, standard or equipment before placing an order.
How to Measure Inside Link Width (W)
Inside link width is the clear opening across the link. It is important when the chain must accept a connecting pin, hook, shackle or other adjacent component. Measure the effective opening on an intact area and avoid dents, twisted links or local deformation.
For production orders, ask the supplier to confirm the nominal value and applicable tolerance after reviewing the drawing or sample. This is especially useful when assembly clearance is limited.
How to Measure Chain Pitch (P)
Pitch is an equipment-critical dimension for calibrated chain, windlass, sprocket and chainwheel applications. Its definition can vary by product family. Do not infer pitch from appearance or assume that it always equals the inside link length.
Use the applicable drawing or equipment manual to identify the reference points. Provide the measured pitch together with D, W, link profile, equipment model and the original specification when available. For equipment matching, the final selection should be reviewed against the equipment maker’s requirements.
D, P and W Chain Dimensions
| Symbol | Typical reference | Buyer action |
|---|---|---|
| D | Wire diameter | Measure multiple intact links and provide the range |
| P | Pitch or a specified link-length reference | Verify the definition in the drawing or standard |
| W | Inside link width | Measure the clear opening and confirm assembly clearance |
Do not rely on symbols alone. D, P and W are common labels, but they are not universal. Attach a marked dimension sketch to the RFQ whenever possible.
Short Link vs Long Link Dimensions
| Feature | Short-link chain | Long-link chain |
|---|---|---|
| Link geometry | More compact link profile | More elongated link profile |
| Pitch relationship | Requires confirmation against the relevant specification | Requires confirmation against the relevant specification |
| Equipment use | Some calibrated systems use short-link formats | Often considered for general connection applications, subject to requirements |
| Replacement | One type should not replace the other without dimensional and engineering confirmation | |
This comparison concerns geometry only. It does not establish load capacity or application suitability.
Calibrated Chain and Equipment Compatibility
Calibrated chain must match the dimensional requirements of the mating windlass, sprocket or chainwheel. Small differences in pitch, wire diameter or internal width can affect engagement. When replacing an existing chain, provide the equipment brand and model, original chain specification, D/P/W measurements, material requirement and representative photos.
If the old chain is worn or the original records are missing, send a physical sample when practical. The supplier can compare several links and discuss whether a standard size or drawing-based solution is appropriate. Final compatibility remains subject to equipment and engineering confirmation.
DIN 763 and DIN 766 Dimensions
DIN 763 and DIN 766 are commonly referenced when buyers discuss welded link-chain geometry. DIN 763 is associated with a long-link form, while DIN 766 is associated with a short-link form. However, a standard name alone is not a complete purchasing specification. Buyers comparing chains, shackles, eye nuts and related parts can also review our stainless steel rigging hardware category.
Confirm the applicable edition, material grade, nominal size, tolerances and any equipment-specific requirements. Do not assume that a chain marked with a DIN reference is automatically suitable for lifting, anchoring or calibrated equipment. Request the relevant dimensional table and documentation for the intended project.
How to Measure a Worn or Deformed Chain
Measure several links that show the least wear, corrosion, stretching or distortion.
Do not use cracked, twisted, flattened or visibly elongated links as the only reference.
Check equipment manuals, earlier drawings, inspection records and previous purchase documents.
Provide photos with a scale and, where possible, a physical sample for supplier review.
A worn measurement is not necessarily the original nominal dimension. Keep measured values and the requested nominal specification separate in the RFQ.
Measurement Checklist for an OEM RFQ
| Required information | Buyer’s Value / What to Enter |
|---|---|
| Material grade | Enter the required grade, such as SS304 or SS316, or write “supplier recommendation required.” |
| Wire diameter D | Enter the measured value and unit; include minimum and maximum readings for a used sample. |
| Inside link length | Enter the clear internal length and unit; attach a marked photo or drawing. |
| Inside link width W | Enter the narrowest usable internal opening and required assembly clearance. |
| Pitch P and its definition | Enter the pitch and identify the reference points used in the standard or equipment drawing. |
| Outside link length and width | Enter both external dimensions with units as supporting identification data. |
| Short-link or long-link form | Select the required form or attach a clear sample photo if the type is unknown. |
| Total length and link count | Enter the finished length per piece and required link count, including end-link instructions. |
| Application and mating equipment | State the use, equipment brand/model and connecting parts; do not rely on a photo alone. |
| Quantity, finish and packaging | Enter order quantity, surface requirement, length per bundle/reel and export-packaging needs. |
| Testing or document requirements | List required inspection records, material documents or project-specific tests before quotation. |
For additional specification guidance, read how to specify stainless steel welded chain for OEM orders. This companion guide explains how to organize material, dimensional, packaging and documentation requirements for supplier review.
For a quotation, send the dimensional sketch, material grade, total length, quantity, application, packaging and any inspection requirements through our contact page.
Prepare the Chain Before Measurement
Clean enough of the chain to expose the metal without grinding or altering the link surface. Remove loose dirt, salt deposits and grease that would hold the caliper away from the actual surface. Record whether the chain is new, used, corroded, coated or visibly worn because sample condition changes how the readings should be interpreted.
Lay the chain on a stable surface without twisting the links. Identify weld positions, wear flats, bent links and areas that have been in contact with a wheel or fitting. Mark representative links from different parts of the sample. If the chain comes from an operating assembly, record which end and location each sample represents.
Check the measuring instrument before use and choose jaws that can contact the intended surfaces. A ruler is useful for total length but is normally too coarse for wire diameter or internal width. Do not force caliper jaws into a narrow opening, because that can change the link position or damage the tool.
Measure Several Links, Not Just One
One link cannot describe an entire used chain or production lot. Measure several non-adjacent links and record each result. For wire diameter, compare unworn areas and locations that show service contact. For internal dimensions, avoid links that are visibly twisted unless the purpose is to document damage.
Where the applicable specification defines a multi-link measurement, follow its reference points and link count. Measuring several pitches together can reduce the effect of positioning error, but the method must match the drawing or standard. Dividing an arbitrary overall length by the number of links is not a substitute for the specified method.
Report the individual readings, range and measurement locations. A supplier can then distinguish likely nominal geometry from local wear. Do not average away a minimum dimension that may affect fit or condition assessment.
How to Record Measurement Uncertainty
Every measurement has uncertainty from the instrument, contact position, operator and condition of the part. The goal of an RFQ is not to create false precision. Record the instrument type and resolution, but do not claim that resolution equals accuracy. Note any surface damage or limited access that makes the reading approximate.
If two people obtain different results, compare their reference points and chain orientation before deciding that the sample is inconsistent. A dimension sketch with arrows is often more useful than an extra decimal place. When a tolerance is critical, the production drawing should define the feature and acceptance method.
Photographs should include a scale and show the complete link, but photographs do not replace direct measurements. Perspective and camera angle can distort apparent geometry. Use images to explain where a measurement was taken and to document sample condition.
Used Chain, Wear and Deformation
A used chain may no longer represent its original nominal dimensions. Wear can reduce local wire diameter and enlarge internal openings. Plastic deformation can increase link length or change width, while corrosion can remove material or create deposits that make some areas appear larger. A buyer should not copy a worn sample without considering the original equipment requirement.
Record the smallest remaining wire diameter at relevant wear points as well as a representative unworn area. Identify elongated, cracked, heavily corroded or distorted links for engineering review. This guide does not set a discard limit; service criteria must come from the responsible equipment documentation, inspection program or applicable standard.
For replacement, combine sample measurements with the equipment model, original chain designation, drawings and connection details. If the original information cannot be found, state that clearly so the supplier does not treat measured wear dimensions as the intended new-chain specification.
Check Connectors and Mating Equipment
Chain fit depends on more than the link itself. Record the pin diameter, hook throat, shackle width, sprocket or windlass information, clearance envelope and any end fitting. A chain with the same wire diameter can have an internal opening that prevents connection or a pitch that does not match equipment.
For calibrated equipment, the equipment maker’s specification should control selection. Do not test an unknown chain in powered equipment merely because it appears close. Incorrect pitch or link profile can cause poor engagement, local loading or equipment damage.
When sending an RFQ, attach photographs and dimensions of adjacent components, but do not assume the supplier is responsible for redesigning the full system unless that engineering scope is agreed. Confirm the boundary between chain supply and system validation.
Create a Chain Measurement Record
| Record field | What to enter | Why it matters |
|---|---|---|
| Sample identity | Equipment, position, date and sample label | Prevents measurements from different chains being mixed |
| Condition | New, used, corroded, worn, coated or deformed | Explains differences from nominal geometry |
| Instrument | Type, range and resolution | Supports repeat measurement |
| D readings | Several intact and worn locations | Shows wire-diameter variation |
| P and W readings | Reference definition and individual values | Connects numbers to the correct geometry |
| Total length | Measurement condition and link count | Supports replacement and packaging review |
| Connections | Pin, hook, shackle or equipment dimensions | Supports compatibility review |
Keep the original record with the RFQ and final drawing. If the supplier proposes a nominal size, show how it relates to the sample and require approval before production. This prevents an informal measurement note from becoming an uncontrolled specification.
Sample Submission and Identification
If a physical sample is sent, label it with the part number, equipment, orientation and contact person. Protect it so that transport does not create new bends or abrasion. Do not send a contaminated sample without suitable handling information and approval from the recipient.
State whether the sample is for reference only or is intended to define geometry. If it is worn, mark representative areas and attach the measurement record. A supplier may still need a controlled drawing because material, grade, tolerance and acceptance requirements cannot be confirmed from appearance alone.
When more than one sample is supplied, use unique labels and a comparison table. Do not place different chains loose in the same package. Clear identification saves time during quotation and reduces the risk that dimensions are assigned to the wrong application.
From Sample Measurements to an OEM Drawing
Translate measurements into a controlled drawing before repeat production. The drawing should define the wire diameter, link geometry, pitch definition, material, total length, end condition and tolerances that matter to the assembly. It should also identify the governing standard when one applies.
Separate observed sample dimensions from required production dimensions. A worn value should not become the new nominal value, and an unusually large reading should not automatically become a tolerance limit. Resolve each discrepancy using equipment information and engineering review.
Record the revision used for quotation and sample approval. If dimensions change after trial assembly, issue a new revision rather than editing an email table. The approved drawing becomes the reference for production, inspection and future reorders.
Receiving Inspection for Replacement Chain
When replacement chain arrives, verify package identity, material designation, total length and the dimensions defined by the purchase order. Use the same measurement definitions used during approval. Inspect representative links from the lot without damaging protective packaging for the remaining material.
If calibrated equipment fit is required, follow the agreed inspection or equipment-validation plan. Do not rely only on a single loose link. Keep measurement results and any supplied documentation connected to the correct lot.
Report a discrepancy with the purchase order, drawing revision, lot identification, instrument, measurement method and photographs. This gives the supplier enough evidence to investigate. An unreferenced statement that a chain is “too large” or “does not fit” is difficult to evaluate.
Measurement Checklist Before Requesting a Quote
- Confirm whether the chain is new or used and document visible condition.
- Measure several representative wire-diameter locations away from welds.
- Define exactly how inside length, width and pitch were measured.
- Record individual readings, units, instrument and reference sketch.
- Count links and measure total length in a stated condition.
- Document end fittings, connectors and equipment model.
- State the intended material grade, environment and application.
- Identify the applicable standard or explain that the chain is drawing-based.
- Attach labeled photographs and, when necessary, a physical sample.
- Convert the approved result into a controlled OEM drawing.
Completing this checklist gives a supplier enough context to review the request without treating a worn measurement as a guaranteed nominal size. It also creates a record for receiving inspection and future reorders.
Frequently Asked Questions
What dimensions are required to identify a stainless steel chain?
Record wire diameter, inside link length, inside link width, pitch, outside dimensions, total length and link count. Add the material grade, link type, application and equipment information.
Is wire diameter enough to select a replacement chain?
No. Chains with the same wire diameter can have different pitch, link openings and profiles. A replacement decision needs the complete dimensional set.
What do D, P and W mean in chain dimensions?
D usually means wire diameter, P commonly refers to pitch or a defined link-length reference, and W usually means inside width. Confirm every symbol against the relevant diagram.
What is the difference between pitch and inside link length?
Inside link length is the clear opening within one link. Pitch is a reference spacing defined by a standard or equipment drawing. They should not be assumed to be identical.
How should I measure a worn chain?
Measure several relatively intact links, document the range and compare it with original records. Avoid using a severely worn or elongated link as the nominal size.
Can a short-link chain replace a long-link chain?
Not without dimensional and application review. Their geometry differs, so replacement must follow the original specification and equipment requirements.
How do I confirm compatibility with a windlass or sprocket?
Provide D/P/W data, link type, equipment model, original chain information and a sample when possible. Final suitability should be confirmed against the equipment maker’s requirements.
Can a custom chain be reviewed from a physical sample?
Yes. A supplier can measure representative links and compare the sample with available standards or a new drawing. Wear may prevent an exact reconstruction, so original documentation remains valuable.